The Best App to Recover Your Photos — Fast, Safe, and Free
We’ve all been there — you open your gallery, and suddenly the photos that meant everything are gone.
Anúncios
Whether it was a family vacation, your pet’s first day at home, or a birthday celebration, losing those memories can feel devastating.
What do you want to recover?
The good news? They might not be gone forever. Modern recovery tools have become so advanced that in many cases, you can bring deleted photos back within minutes.
But with so many apps out there claiming to be “the best,” it’s hard to know which one truly works.
Now you’ll learn which app stands out as the best for photo recovery, what makes it so effective, and how to use it properly to get your pictures back.
Anúncios
Why Deleted Photos Aren’t Always Lost Forever
When you delete a photo from your phone, it’s not immediately erased. Instead, the space it occupied is simply marked as “available for new data.”
Until that space gets overwritten by something else, your deleted photo can still be recovered.
This is why acting quickly matters. The longer you wait, the higher the chance that your phone will overwrite that space with new files.
And once that happens, even the best recovery apps may not be able to help.
So, before you panic, take a deep breath and follow the right steps. That’s where choosing the right app makes all the difference.
The Best App for Photo Recovery: Dr.Fone
After testing dozens of photo recovery tools, one app consistently delivers reliable results across both Android and iPhone: Dr.Fone – Data Recovery by Wondershare.
This app has earned a strong reputation over the years for being powerful, safe, and easy to use, even for people with no technical experience.
Here’s why Dr.Fone stands out:
1. Deep Scanning Power
Dr.Fone doesn’t just look at what’s visible on your phone.
It dives deep into your storage — including hidden caches and residual system files — to find traces of deleted photos.
It’s particularly good at recovering images that were lost due to:
- Factory resets
- System crashes
- Broken or formatted SD cards
- Accidental deletions
2. High Recovery Success Rate
Many apps claim to restore photos, but only a few actually do.
Dr.Fone’s scanning algorithm has one of the highest recovery rates in the industry, detecting photos that other apps often miss.
3. User-Friendly Interface
Even if you’re not tech-savvy, Dr.Fone makes recovery simple. You can preview photos before restoring them, choose what to recover, and even transfer them directly to your computer if needed.
4. Works Across Devices
Dr.Fone supports both Android and iOS, as well as Windows and macOS.
That means you can use it on almost any phone or computer, which is great if you need to recover from multiple devices.
5. Secure and Reliable
Unlike sketchy free apps that may risk your privacy, Dr.Fone is backed by Wondershare — a trusted software company known worldwide.
Your photos are scanned locally, not uploaded to random servers.
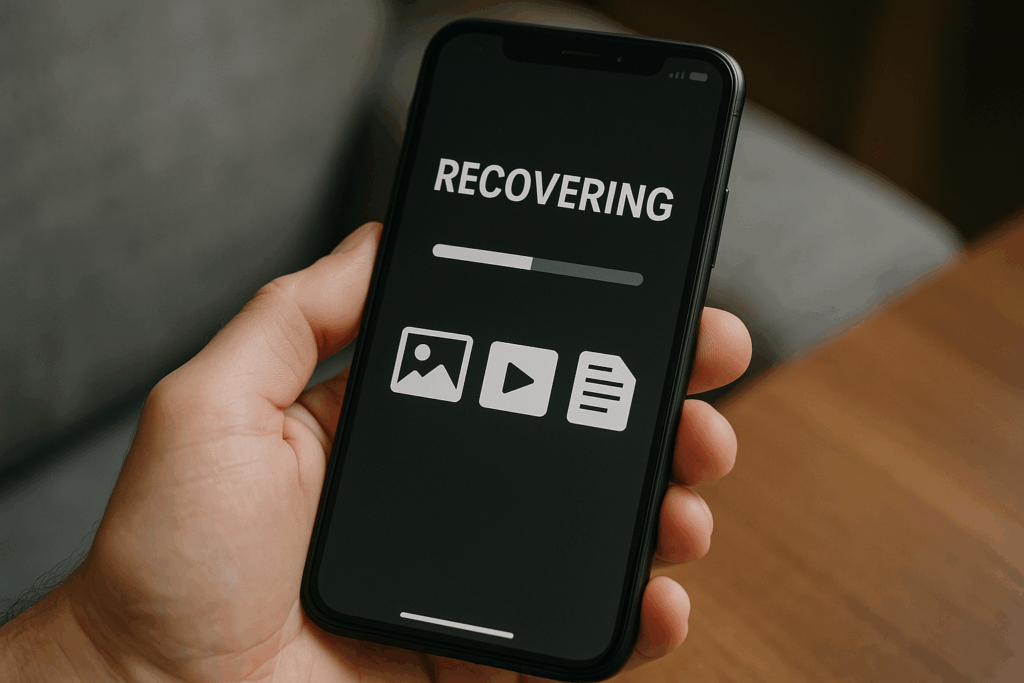
How to Use Dr.Fone to Recover Deleted Photos
You don’t need to be a tech expert to use Dr.Fone. The process is straightforward and takes only a few minutes:
Step 1: Install and Open the App
Download Dr.Fone – Data Recovery from the official Wondershare website or from Google Play / App Store (depending on your device).
Step 2: Choose “Data Recovery”
Once you open the app, tap on the Data Recovery option. Connect your phone to your computer if you’re using the desktop version.
Step 3: Select What to Scan
You can select specific types of files (like “Photos” or “Gallery”) to make the scan faster and more accurate.
Step 4: Let the Scan Run
Dr.Fone will start analyzing your device storage, looking for deleted photos. This may take several minutes depending on how much data you have.
Step 5: Preview and Recover
Once the scan is done, you’ll see a preview of all recoverable photos. Select the ones you want to restore, click Recover, and they’ll be saved back to your gallery or your computer.
What Makes Dr.Fone Better Than Other Recovery Apps
There are other popular options out there — DiskDigger, EaseUS, Tenorshare UltData, etc. — but Dr.Fone stands out for a few reasons:
| Feature | Dr.Fone | DiskDigger | EaseUS MobiSaver |
|---|---|---|---|
| Works on Android & iOS | ✅ | ❌ (Android only) | ✅ |
| Deep Scan Accuracy | ⭐⭐⭐⭐⭐ | ⭐⭐⭐ | ⭐⭐⭐⭐ |
| Preview Before Recovery | ✅ | ✅ | ✅ |
| Recovers After Factory Reset | ✅ | ❌ | ✅ |
| Security / Privacy | High | Medium | High |
| Ease of Use | Very Easy | Moderate | Easy |
As you can see, Dr.Fone checks every box that matters. It combines ease of use, safety, and effectiveness — the perfect trio for anyone who values their memories.
When Dr.Fone Works Best
To get the most out of the app, keep these recovery tips in mind:
- Act quickly: Stop using your phone as soon as you notice the loss. Avoid taking new photos or installing new apps — these actions overwrite deleted data.
- Avoid random “free” tools: Many free apps you find online may include ads, malware, or very limited recovery results. Stick with verified tools.
- Use a computer when possible: The desktop version of Dr.Fone offers deeper scanning and a higher success rate.
- Regular backups: Once you recover your photos, set up automatic backups on Google Photos or iCloud to avoid this situation in the future.
Real Users, Real Results
Many users report positive experiences with Dr.Fone after thinking their photos were gone forever.
“I accidentally formatted my SD card and lost all my vacation pictures. Dr.Fone recovered almost everything — even videos I thought were gone for good!”
— Maria S., Android user
“After updating my iPhone, my photos disappeared from the gallery. Dr.Fone found them in less than 10 minutes. Totally worth it.”
— James P., iPhone user
Stories like these highlight what makes a good recovery tool truly valuable — not just technical features, but the emotional relief of getting your memories back.
Other Tools Worth Mentioning
While Dr.Fone is the best all-around app, here are two alternatives worth knowing about:
1. DiskDigger
Great for quick Android recovery. It’s lightweight, free for basic scans, and works directly on your phone — no computer required.
However, its recovery depth is limited compared to Dr.Fone.
2. Tenorshare UltData
A strong competitor for iPhone users. It supports recovery from iCloud and iTunes backups and has a clean interface, though its scans tend to be slower.
If you’re looking for speed, reliability, and cross-device support, Dr.Fone remains the top choice.
Common Questions About Photo Recovery
1. Can I recover photos deleted months ago?
Yes — as long as the deleted data hasn’t been overwritten. Even months later, recovery is possible if that storage space remains unused.
2. Is Dr.Fone really safe?
Absolutely. The app is developed by Wondershare, a reputable global software company. No data leaves your device without permission.
3. Do I need to root or jailbreak my phone?
No. Dr.Fone works without root access for most cases. However, root access can improve scan depth on Android.
4. Can I use it after a factory reset?
Yes. Dr.Fone is one of the few tools capable of retrieving photos after a factory reset — especially when used through the desktop version.
5. How much does it cost?
Dr.Fone offers both free and paid versions. The free version allows scanning and previewing, while the paid plan unlocks full recovery.
Final Thoughts: Don’t Give Up on Your Memories
Losing photos can be heartbreaking, but thanks to today’s recovery technology, you still have hope.
With the right tool — especially one as effective as Dr.Fone — you can often restore what once seemed lost forever.
So, before you assume your pictures are gone for good, give recovery a real chance.
Install Dr.Fone, follow the simple steps, and in minutes, your favorite moments could be back where they belong — in your gallery.